Django is a popular framework for Python application developers. It includes packages which make tasks like authorization and content administration easier. Django supports a number of databases including MySQL which makes it possible to run a Django application over Vitess without having to change the application code. Let’s take a look at how to combine the strengths of these two open source frameworks.
We built this example using Vitess operator. You can see the details of the implementation in the blog post Vitess Operator for Kubernetes.
Prerequisites #
- Python environment locally (3.X)
- Kubernetes access (minikube, GKE)
- Support for Django ORM via Vitess
For this example, we’re using GKE with an existing Kubernetes cluster. You can also do this via minikube locally.
The Django example we are using is the "weather app". We first launch the vitess operator using the provided configuration.
The following section includes these steps:
- Creating a Vitess Operator pod
- Building Vitess Cluster Components (1x primary tablet, 1x replica tablet, 3x etcd pods, 1x vtgate, 1x vtctld, 1x vitessbackup)
- Create the ‘weatherapp’ database schema and users.
$ kubectl apply -f operator.yaml
customresourcedefinition.apiextensions.k8s.io/etcdlockservers.planetscale.com created
customresourcedefinition.apiextensions.k8s.io/vitessbackups.planetscale.com created
customresourcedefinition.apiextensions.k8s.io/vitessbackupstorages.planetscale.com created
customresourcedefinition.apiextensions.k8s.io/vitesscells.planetscale.com created
customresourcedefinition.apiextensions.k8s.io/vitessclusters.planetscale.com created
customresourcedefinition.apiextensions.k8s.io/vitesskeyspaces.planetscale.com created
customresourcedefinition.apiextensions.k8s.io/vitessshards.planetscale.com created
serviceaccount/vitess-operator created
role.rbac.authorization.k8s.io/vitess-operator created
rolebinding.rbac.authorization.k8s.io/vitess-operator created
priorityclass.scheduling.k8s.io/vitess created
priorityclass.scheduling.k8s.io/vitess-operator-control-plane created
deployment.apps/vitess-operator created

$ kubectl get pods
NAME                               READY   STATUS    RESTARTS   AGE
vitess-operator-7f9c9d58f6-q5zlf   1/1     Running   0          20s
Initialize this cluster with a sample database called ‘weatherapp’ and user/password to access it will be embedded in the configuration file. We are basically creating a database which is analogous to a keyspace in Vitess.
$ kubectl apply -f 101_initial_cluster.yaml.django
$ kubectl get pods
NAME                                                 READY   STATUS      RESTARTS   AGE
example-90089e05-vitessbackupstorage-subcontroller   1/1     Running     0          94s
example-etcd-faf13de3-1                              1/1     Running     0          94s
example-etcd-faf13de3-2                              1/1     Running     0          94s
example-etcd-faf13de3-3                              1/1     Running     0          94s
example-vttablet-zone1-1542279354-edf1c7bf           2/3     Running     1          94s
example-vttablet-zone1-3763665199-476cbd65           2/3     Running     2          94s
example-weatherapp-x-x-vtbackup-init-75efaeeb        0/1     Completed   0          74s
example-zone1-vtctld-1d4dcad0-67bfd56b8b-4dr9s       1/1     Running     2          94s
example-zone1-vtgate-bc6cde92-59b88bc8d8-6wz86       1/1     Running     2          94s
vitess-operator-7f9c9d58f6-q5zlf                     1/1     Running     0          4m30s
As you can see this brings up a fully functional managed Vitess cluster with an unsharded keyspace consisting of one “Primary (Master)” and one “Replica”.
Step 1 - Set portforwards: #
$ cat pf.sh ; ./pf.sh &
#!/bin/sh

kubectl port-forward --address localhost "$(kubectl get service --selector="planetscale.com/component=vtctld" -o name | head -n1)" 15000 15999 &
process_id1=$!
kubectl port-forward --address localhost "$(kubectl get service --selector="planetscale.com/component=vtgate,!planetscale.com/cell" -o name | head -n1)" 15306:3306 &
process_id2=$!
sleep 2
echo "You may point your browser to http://localhost:15000, use the following aliases as shortcuts:"
echo 'alias vtctlclient="vtctlclient -server=localhost:15999 -logtostderr"'
echo 'alias mysql="mysql -h 127.0.0.1 -P 15306 -u user"'
echo "Hit Ctrl-C to stop the port forwards"
wait $process_id1
wait $process_id2
Check Tablets:
$ vtctlclient ListAllTablets
Handling connection for 15999
zone1-1542279354 weatherapp - replica 10.100.1.75:15000 10.100.1.75:3306 [] <null>
zone1-3763665199 weatherapp - master 10.100.3.57:15000 10.100.3.57:3306 [] 2020-10-16T09:06:59Z
Step 2 - Verify database: #
$ alias mysql="mysql -h 127.0.0.1 -P 15306 -u djangouser -p"
$ mysql
mysql: [Warning] Using a password on the command line interface can be insecure.
Handling connection for 15306
Welcome to the MySQL monitor.  Commands end with ; or \g.
Your MySQL connection id is 1
Server version: 5.7.9-Vitess MySQL Community Server (GPL)

Copyright (c) 2000, 2020, Oracle and/or its affiliates. All rights reserved.

Oracle is a registered trademark of Oracle Corporation and/or its
affiliates. Other names may be trademarks of their respective
owners.

Type 'help;' or '\h' for help. Type '\c' to clear the current input statement.

mysql> show databases;
+------------+
| Databases  |
+------------+
| weatherapp |
+------------+
1 row in set (0.16 sec)
Step 3 - Setup application environment #
Now that we have set up the Vitess cluster with a MySQL backend, we can proceed to building the Django application. We will build a Django project using the django-admin command.
$ mkdir my_weather_app
$ cd my_weather_app
$ python3 -m venv env
$ . env/bin/activate
(env) askdba:my_weather_app askdba$
$ pip install django
$ django-admin startproject weatherapp
$ cd weatherapp/
$ ls -la
total 8
drwxr-xr-x  4 askdba  staff  128 Oct 16 12:19 .
drwxr-xr-x  4 askdba  staff  128 Oct 16 12:18 ..
-rwxr-xr-x  1 askdba  staff  666 Oct 16 12:18 manage.py
drwxr-xr-x  7 askdba  staff  224 Oct 16 12:18 weatherapp
Edit configuration file and update following section.
$ vi weatherapp/settings.py [link to sample file]
import os
# Database
# https://docs.djangoproject.com/en/3.0/ref/settings/#databases

DATABASES = {
    'default': {
        'ENGINE': 'custom_db_backends.vitess',
        'OPTIONS': {
            'read_default_file': '/usr/local/mysql/my.cnf',
        },
    }
}

STATIC_ROOT = os.path.join(BASE_DIR, 'static')

...
# SECURITY WARNING: don't run with debug turned on in production!
DEBUG = True

ALLOWED_HOSTS = ['127.0.0.1']

# Application definition
...
Copy customs_db_backends directory to your project directory. You can clone Vitess project to a local directory.
$ cp -r ~/vitess/support/django/custom_db_backends .
$ vi /usr/local/mysql/my.cnf [link to sample my.cnf]
[client]
database = weatherapp
user = djangouser
password = ********
port = 15306
host = 127.0.0.1
default-character-set = utf8mb4
Step 4 - Install MySQL Client Connector #
$ pip install mysqlclient
Collecting mysqlclient
  Using cached mysqlclient-2.0.1.tar.gz (87 kB)
Using legacy 'setup.py install' for mysqlclient, since package 'wheel' is not installed.
Installing collected packages: mysqlclient
    Running setup.py install for mysqlclient ... done
Successfully installed mysqlclient-2.0.1
Step 5 - Build Django Framework over Vitess cluster #
At this stage, we’re ready to run the migrations to create initial Django metadata.
$ python manage.py migrate
Operations to perform:
  Apply all migrations: admin, auth, contenttypes, sessions
Running migrations:
  Applying contenttypes.0001_initial... OK
  Applying auth.0001_initial... OK
  Applying admin.0001_initial... OK
  Applying admin.0002_logentry_remove_auto_add... OK
  Applying admin.0003_logentry_add_action_flag_choices... OK
  Applying contenttypes.0002_remove_content_type_name... OK
  Applying auth.0002_alter_permission_name_max_length... OK
  Applying auth.0003_alter_user_email_max_length... OK
  Applying auth.0004_alter_user_username_opts... OK
  Applying auth.0005_alter_user_last_login_null... OK
  Applying auth.0006_require_contenttypes_0002... OK
  Applying auth.0007_alter_validators_add_error_messages... OK
  Applying auth.0008_alter_user_username_max_length... OK
  Applying auth.0009_alter_user_last_name_max_length... OK
  Applying auth.0010_alter_group_name_max_length... OK
  Applying auth.0011_update_proxy_permissions... OK
  Applying auth.0012_alter_user_first_name_max_length... OK
  Applying sessions.0001_initial... OK
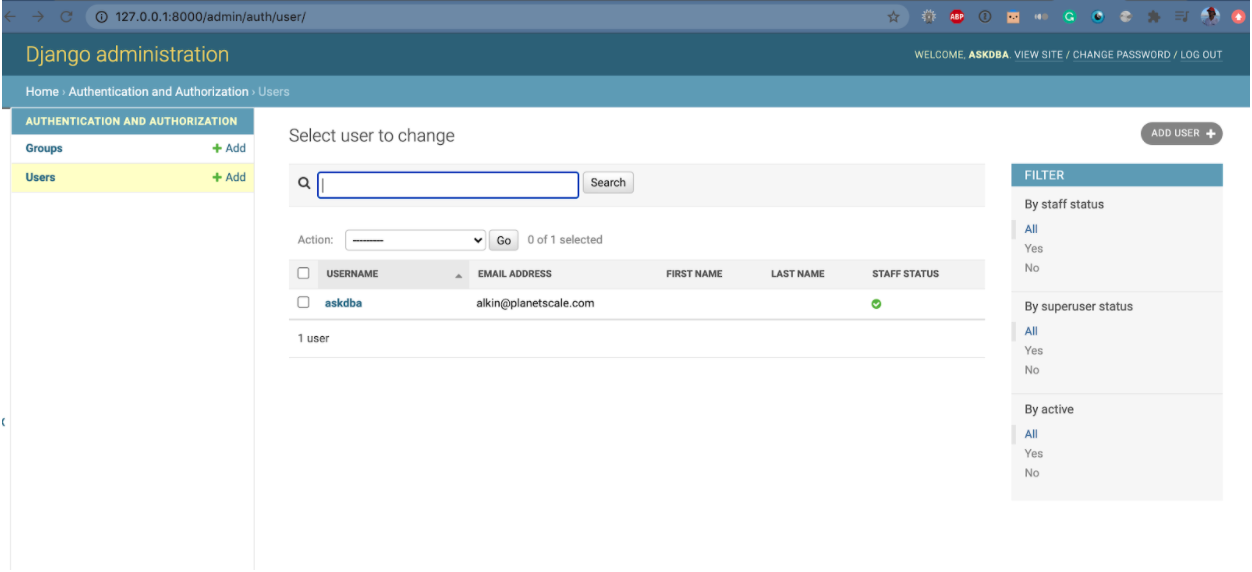
Step 6 - Create an admin user #
Create an administrative user to access the Django Admin interface.
$ python manage.py createsuperuser
Username (leave blank to use 'askdba'): askdba
Email address: alkin@planetscale.com
Password:
Password (again):
The password is too similar to the email address.
This password is too short. It must contain at least 8 characters.
Bypass password validation and create user anyway? [y/N]: y
Superuser created successfully.
(env) askdba:weatherapp askdba$
Step 7 - Start Django daemon. #
$ python manage.py runserver 127.0.0.1:8000
Watching for file changes with StatReloader
Performing system checks...

System check identified no issues (0 silenced).
October 16, 2020 - 09:37:02
Django version 3.1.2, using settings 'weatherapp.settings'
Starting development server at http://127.0.0.1:8000/
Quit the server with CONTROL-C.
Step 8 - Go to Django Admin page #
Point your browser to http://127.0.0.1:8000/admin
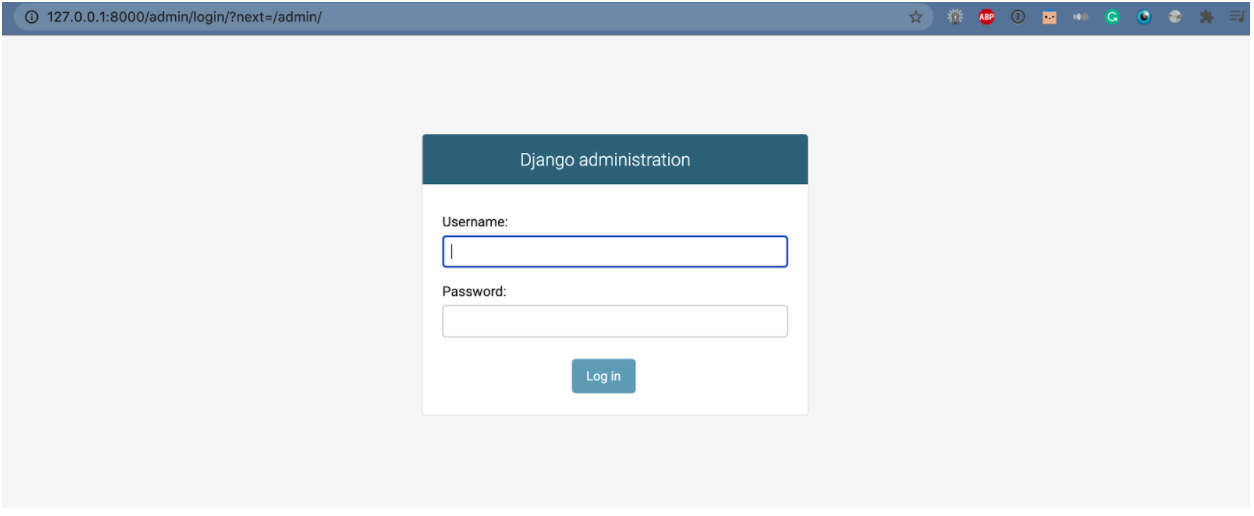
You may continue to build the application from this point by following this example.
Conclusion #
Vitess is a very powerful sharding framework that comes with a built-in control plane that allows backend developers to adapt their applications easily. Combining powerful application frameworks such as Django allows developers to create scalable applications out of the box with the power of open source tooling.
References #
How To Make a Django Blog App and Connect it to MySQL